
Planning Your Exhibit
Before you start building your exhibit in Omeka S, you will want to plan it out. The assignment from your professor will give you some guidelines, as will the knowledge you've gained in the class so far. Building a digital exhibit is a complex process, and these guidelines will help you plan. If you have been assigned a collaborative exhibit project, it is especially important to plan, so that your group is all on the same page.
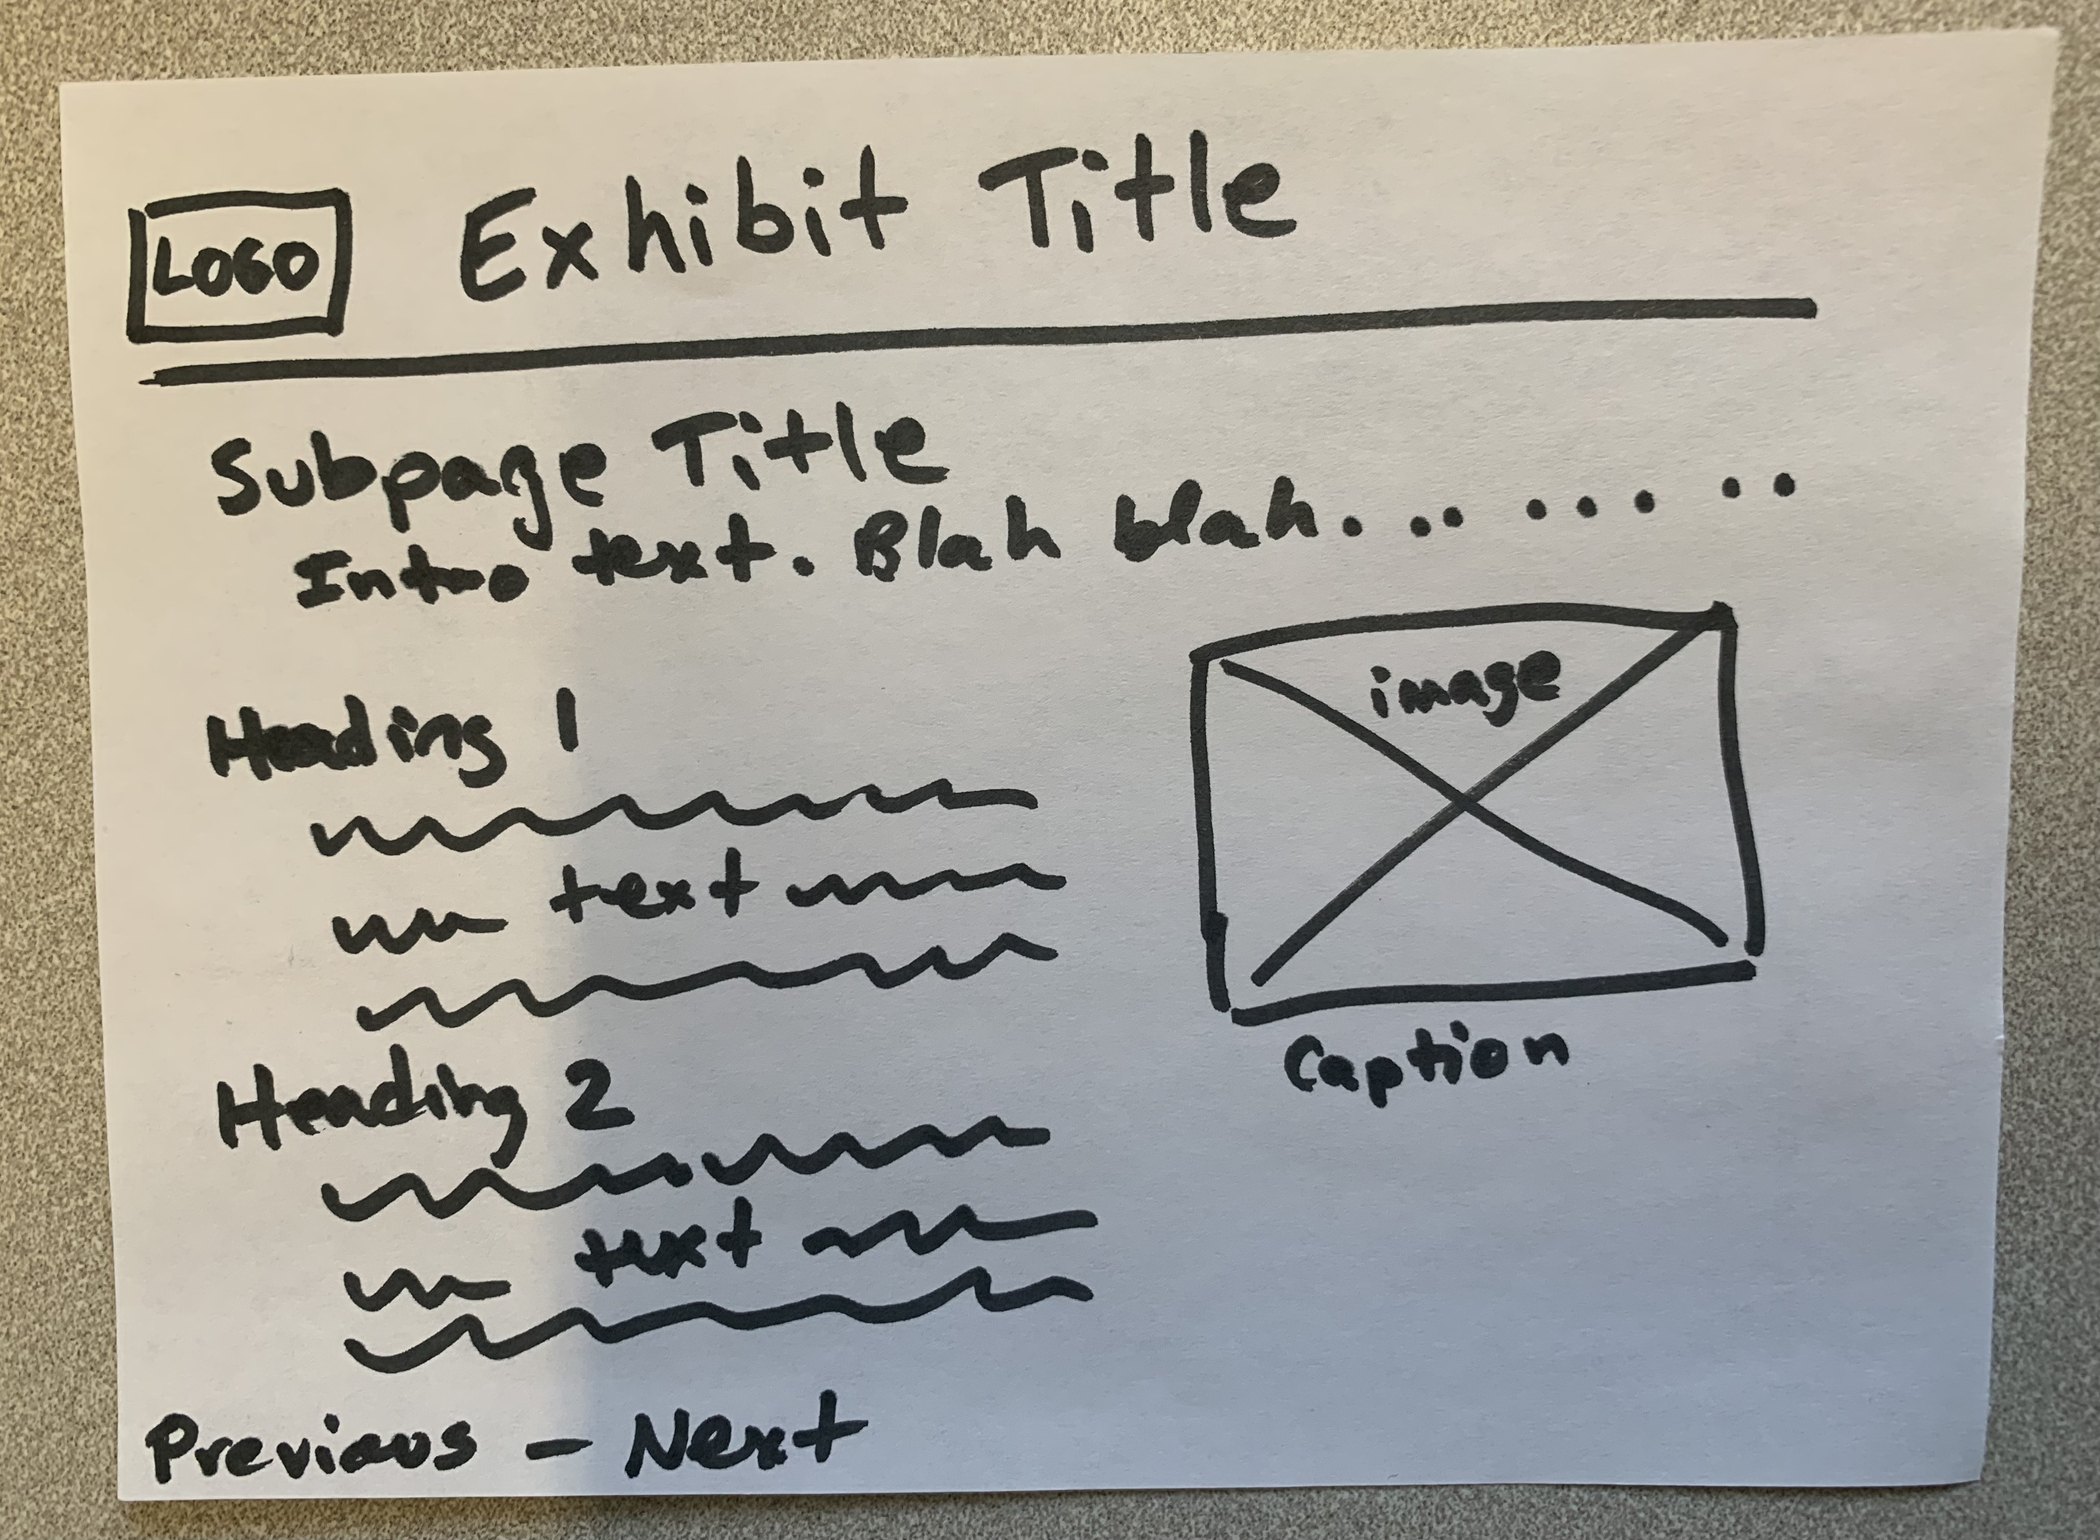
A wireframe drawn on paper with a sharpie.
Guide: Planning an Omeka S Exhibit
This planning guide is in Google Docs, and it is organized according to the decisions you'll need to make in planning your exhibit. To use the guide, make a copy into your own Google Drive or download it. The prompts in this in the guide can be a useful resource for thinking about your exhibit even if you don't fill it out completely.
Plan Your Exhibit Visually
Planning your exhibit visually is another option. You can use a visual plan as an overview of your exhibit along with more detailed information in the planning guide or a separate document. Or, you can do most of your planning in a visual space, then add your text, items, and other materials directly in Omeka S as you go.
There are many options for making a visual plan, from simple to complex:
- Draw it out on paper. This approach is quick, simple, and without tech barriers.
- Use digital platforms that are already familiar to you. Try Google Docs and slides, Microsoft Word and Powerpoint, Apple Keynote and Sketch, Canva, or other platforms. Start with what's familiar and keep it simple, unless your project requires more.
- For a collaborative exhibit project, try Google Jamboard. This platform lets a group brainstorm and then organize ideas visually in a shared space.