
Adding Items
Items are the building blocks of an Omeka-S exhibit.
It will be easier to add items to your exhibit site first, so that you can select them while building your pages. To add any image to your site, you have to create an "item," which is found in the left navigation panel under the Resources section.
- Select the Items tab from the left navigation panel
- Click on Add new item in the upper right hand corner of the screen
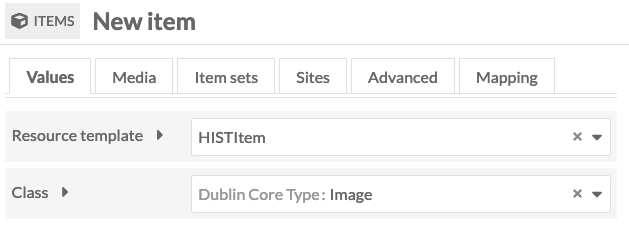
- Enter metadata for the item in the template
Tip: See the What is metadata? page in this guide for help - Click on the Media tab at the top of the record
- Using the buttons on the Add New Media menu on the right side of the screen, select a media type
Tip: For most course exhibits, you will either use Upload, to add a file from your computer, or YouTube, to embed a video link.
Tip: You can upload multiple files -- for example, multiple scans of the pages of a book -- to an item. The first file uploaded will be displayed as the item's thumbnail image - Click on the Item sets tab at the top of the record
- Click on your name in the right-hand navigation to find your item set, and add the item set to the item
Tip: See the Creating Item Sets page in this guide for help - Click on Save in the upper-right corner